How to Digitize Family Photos Without Losing the Originals
At a glance: Work through one small group of photographs, protect the originals and save an untouched master scan. Use clear filenames, record uncertain identities honestly and test a separate backup before sharing copies.
Separate scanning from deciding what to discard
Start by grouping photos by broad events, families or approximate decades. Do not spend your first session arguing about who deserves to stay in the collection. Set aside damaged, stuck-together, curled or fragile photographs; ordinary scanning equipment may make them worse. A simple sorting session might cover one envelope rather than an entire attic.
Create three labels: ready to scan, needs identification, and needs special handling. Mark unknown dates as uncertain. The task is to make a reliable working collection, not to invent a perfect family history.
Choose equipment that will not harm originals
A flatbed scanner can work well for many loose prints. For bound albums, oversized pages and delicate material, photographing with a stable camera setup may be safer than pressing a lid onto the object. The National Archives cautions against automatic-feed scanners for fragile or valuable photographs and papers.
Scan a small test batch first and inspect detail at normal screen size. Save an untouched master scan before cropping, sharpening or correcting color. If you have a photo stuck to glass or another photograph, do not pry it apart; seek preservation advice.
Name files for the people who will use them
IMG_3127 is a poor clue. A useful file name might read 1983-circa-family-picnic-01.jpg. When a date is uncertain, say so rather than quietly inventing precision. Use folders that make sense to your family, such as People, Places and Events, not an elaborate catalog only one person understands.
Keep a short note identifying people in the picture, the person who supplied the identification, and where the physical print lives. Do not put account numbers, medical records or private identification in shared photo file names.
Back up the archive in independent places
A folder on one laptop is not a preservation strategy. Keep another copy on an external drive stored separately; use another suitable backup arrangement when possible. The National Archives recommends three copies on two different media, with one copy off-site. After copying, open random files from the second copy to make sure the backup actually works.
Cloud synchronization and true backup are not always the same. Deleting a file in a synchronized folder may remove it from every device. Find out whether your service has version history and recovery options before making broad changes.
Care for the originals after scanning
The National Archives advises retaining important originals because digital files have preservation risks of their own. Place paper photographs in appropriate archival storage, out of damp spaces and direct sunlight. Label containers rather than writing on the image surface.
Avoid keeping a unique collection in a garage prone to moisture or temperature swings. The physical and digital archives serve different purposes; both deserve a clearly documented storage location.
Make a small, useful family collection
Rather than sending relatives two thousand unlabeled files, choose twenty representative photos and add a line of context to each. Share copies, not your only master collection. Make sure the selected sharing service fits the family’s privacy preferences.
A completed first session means photos grouped, a test scan checked, filenames consistent, backup verified and originals returned safely. Save those steps as a one-page routine for your next envelope.
Run a five-photo test before the full collection
Choose a few ordinary loose prints in good condition: a portrait, a group picture, a light image, a dark one and a photograph with writing on its back. Check that the scanner captures the whole image without pressing or bending it. Save a separate image of useful writing and connect the two filenames.
Open the files on the device relatives will use. Can you recognize faces and read the details you want to preserve? If the results are poor, change the setup before processing a hundred more. There is no single resolution that suits every print, enlargement or future use; consult the scanner instructions and preservation guidance for the material you have.
Keep a short collection index
A plain list can connect the physical and digital collections: filename, people or event, approximate date, original location and any uncertainty. For example, “1980-circa-lake-picnic-01; people partly unidentified; originals box A, envelope 4” is enough to make a later search easier.
Ask relatives to add names to a copy of the index, then record who supplied each identification. Keep the master scans separate from the edited sharing set. If a relative wants a brighter or cropped version, the original scan remains available for a different use later.
Your first 15 minutes
Select five sound prints, make test scans and copy those files to a separate backup. Open one backed-up file, record where the originals live and stop before starting a second envelope.
Continue organizing
Organize What Matters: Information Your Family May Need
Reliable sources
National Archives: Digitizing Family Papers and Photographs
National Archives: Storing Family Papers and Photographs
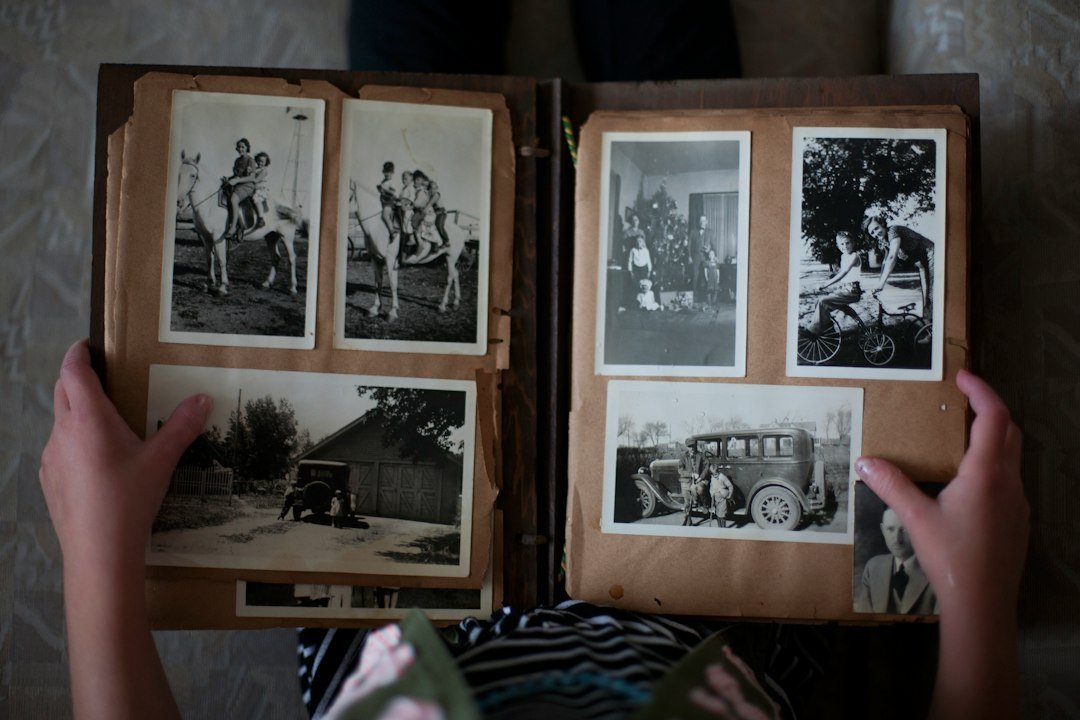
Featured photo: Laura Fuhrman / Unsplash.